
The white halo around your DTF transfer
A whitish outline around the design, a haze over shadows and glows, a gradient that ends in a white smear on the shirt. The printer does exactly what the file says: there is white wherever the file is half transparent.
Where the white haze comes from
In DTF, every pixel that is not fully transparent gets a white underbase. A softened edge, a drop shadow, a glow, a fade to transparency: all of them contain pixels at 10, 30 or 50% opacity. The RIP prints a little colour ink on top, but solid white underneath. To the eye, on a dark shirt, that white wins: that is the halo.
The same mechanism gives a white fringe on a badly cut-out logo (edge pixels half erased) and a "haze" on photos with soft edges. Removing the background is not enough: you have to decide, pixel by pixel, what is printed solid and what becomes dots.
Remove the halo with DTFForge
- Sharp edges: clean the semi-transparency
For a logo or text, the Clean semi-transparency, threshold (%) option of the Prepare tab makes every pixel above the threshold opaque and everything else transparent. No more half-erased pixels, so no more white fringe. Clean the fringe around the design also fixes the colour of the edge.
- Shadows, glows and gradients: screen them
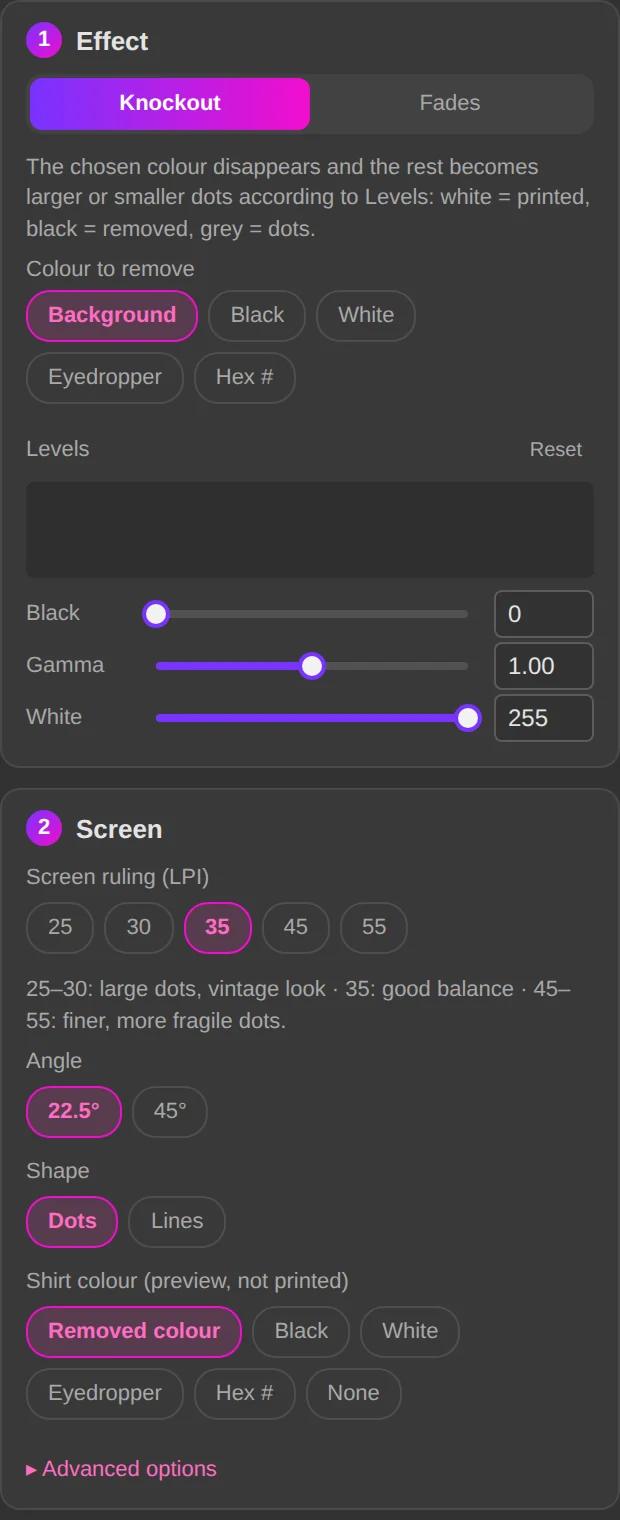
For a photo or a design with fades, open the Halftone tab. Choose the Colour to remove (black, white, eyedropper or code): it is removed from the image, and the semi-transparent areas become solid dots, larger or smaller depending on the opacity. Between the dots, the shirt shows through: no more white haze.
- Adjust live, then apply
The Levels (as in Photoshop), the Screen ruling (LPI), the Angle and the Shape are adjusted with an immediate preview on the shirt colour. The Minimum dot (mm) removes dots too small to hold the powder. Apply keeps the original hidden underneath.
The Halftone module in the guide →
What you get
- A clean outline, with no fringe or haze, on any fabric colour
- Shadows and glows that blend into the shirt instead of turning white
- A transfer that feels softer: less solid area, less ink
- Dots sized for your printer, that hold the powder
Frequently asked questions
Why not just lower the white channel opacity in the RIP?
Because the white is then applied the same way everywhere: solid colours go dull and the halo stays, only lighter. Screening fixes the problem where it is: solid where the design is solid, dots where it fades.
Which screen ruling should I choose?
35 LPI is a good compromise for most DTF printers. 25 to 30 LPI gives big dots, a vintage look; 45 to 55 LPI is finer but the dots are more fragile. The panel reminds you next to the setting, and the Minimum dot (mm) avoids dots that would not print.
The design also has a flat black background
First remove the flat background in the Prepare tab (see the page on the black box), then screen the remaining fades. If the background and the shadows are the same colour, the Halftone does both at once: the chosen colour disappears everywhere, solid or faded.
Test it on your hardest design
The Halftone module costs €49, one-time payment, lifetime licence. The 7-day free trial unlocks every module.